Address
304 North Cardinal St.
Dorchester Center, MA 02124
Work Hours
Monday to Friday: 7AM - 7PM
Weekend: 10AM - 5PM

Address
304 North Cardinal St.
Dorchester Center, MA 02124
Work Hours
Monday to Friday: 7AM - 7PM
Weekend: 10AM - 5PM

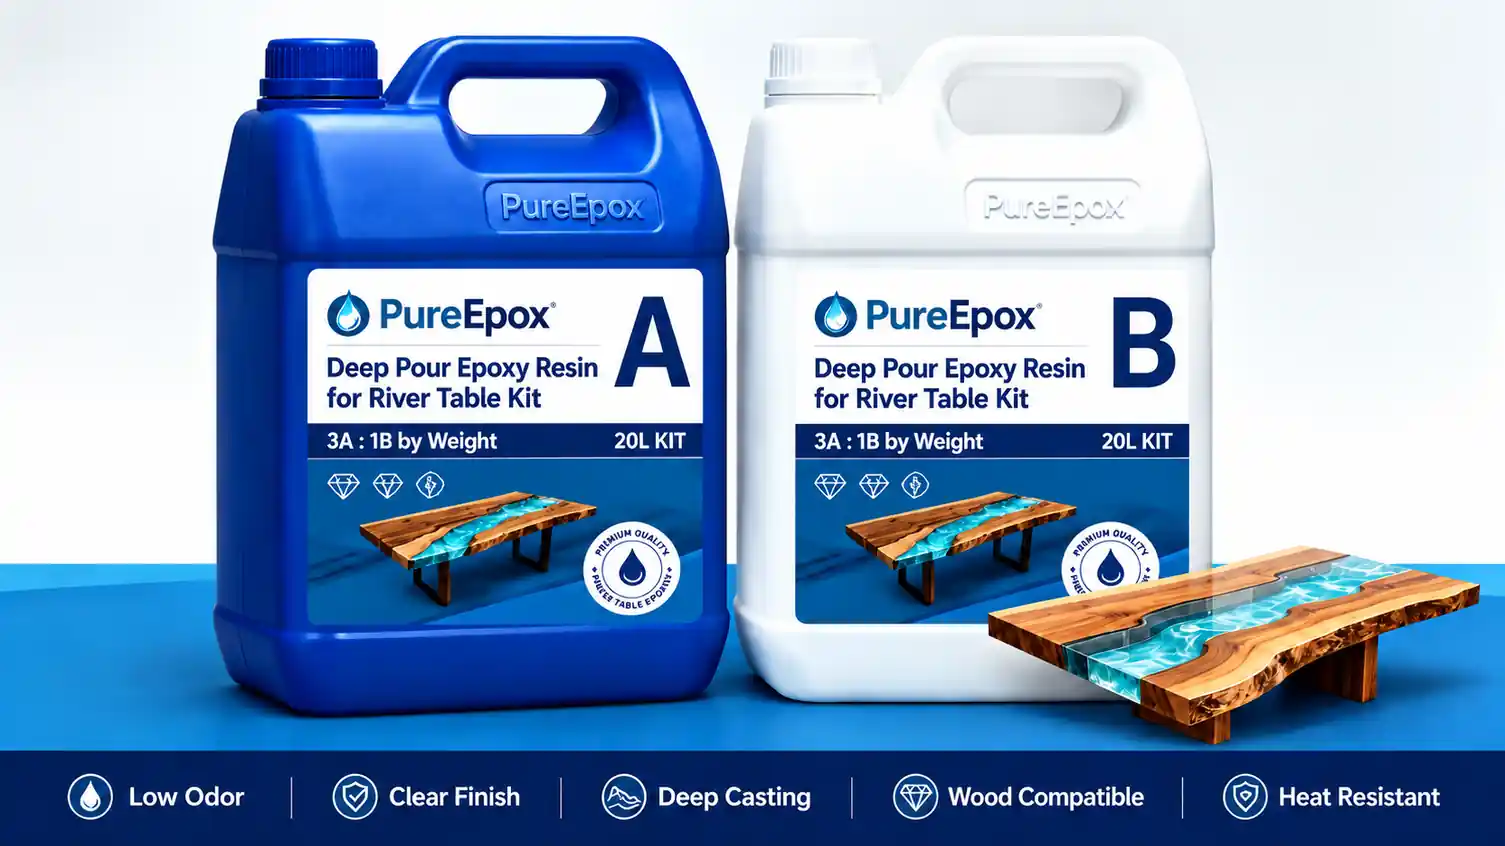
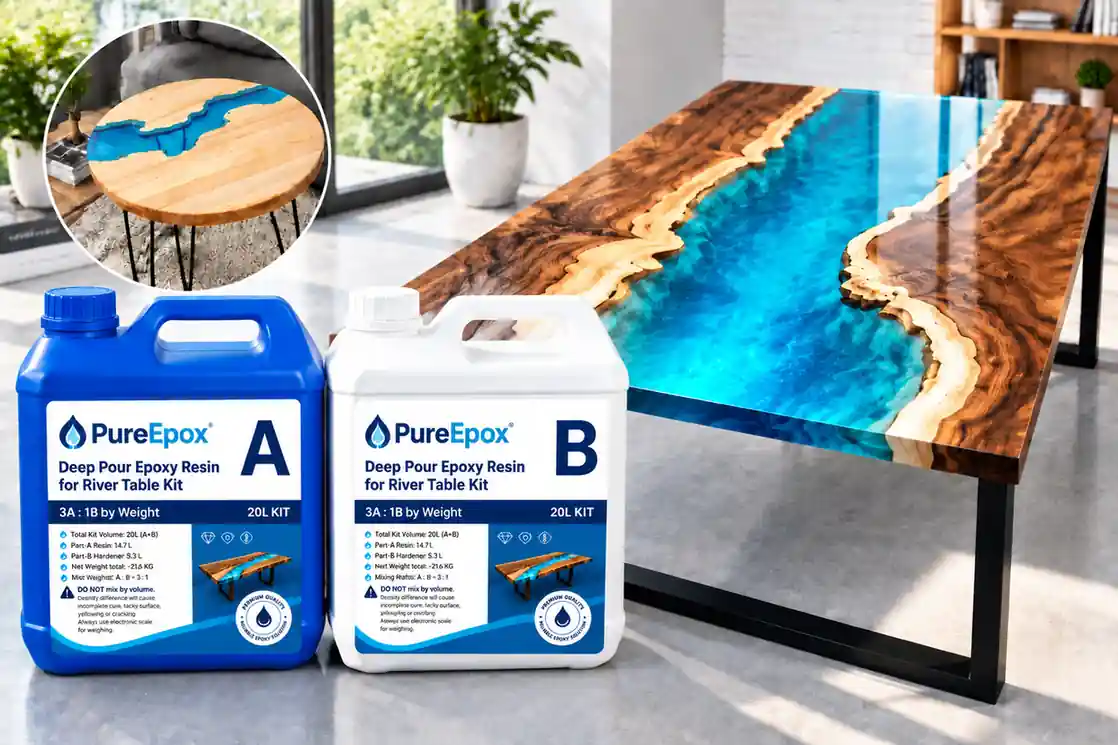
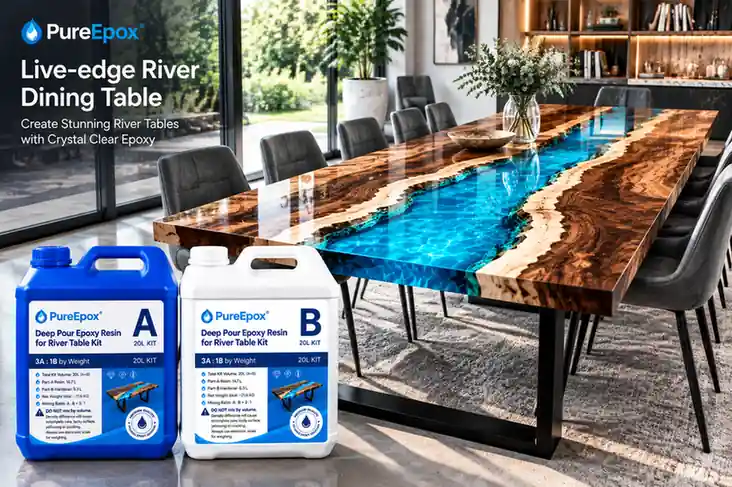
3:1 mixing ratio, two-component A/B deep pour epoxy resin formulated specifically for filling river channels in live-edge wood slabs. Delivers superior optical clarity, zero-bubble self-release, and controlled low exotherm.
Engineered with extended open time for seamless mass casting. Safe single-pour depth up to 30 mm in pure molds and up to 20 mm adjacent to thermal-insulating solid wood edges.
Rigorous laboratory performance specifications based on 20 mm deep casting at 25°C.
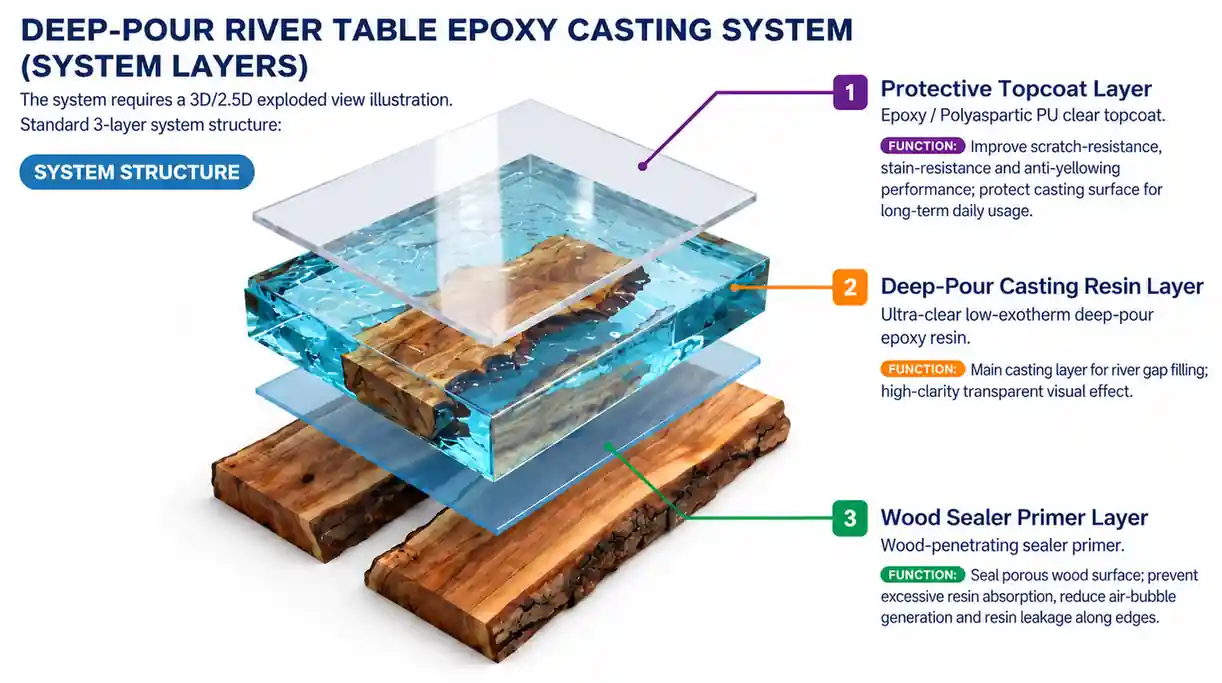
Standard 3-layer system design preventing substrate air outgassing and ensuring scratch-resistant durability.
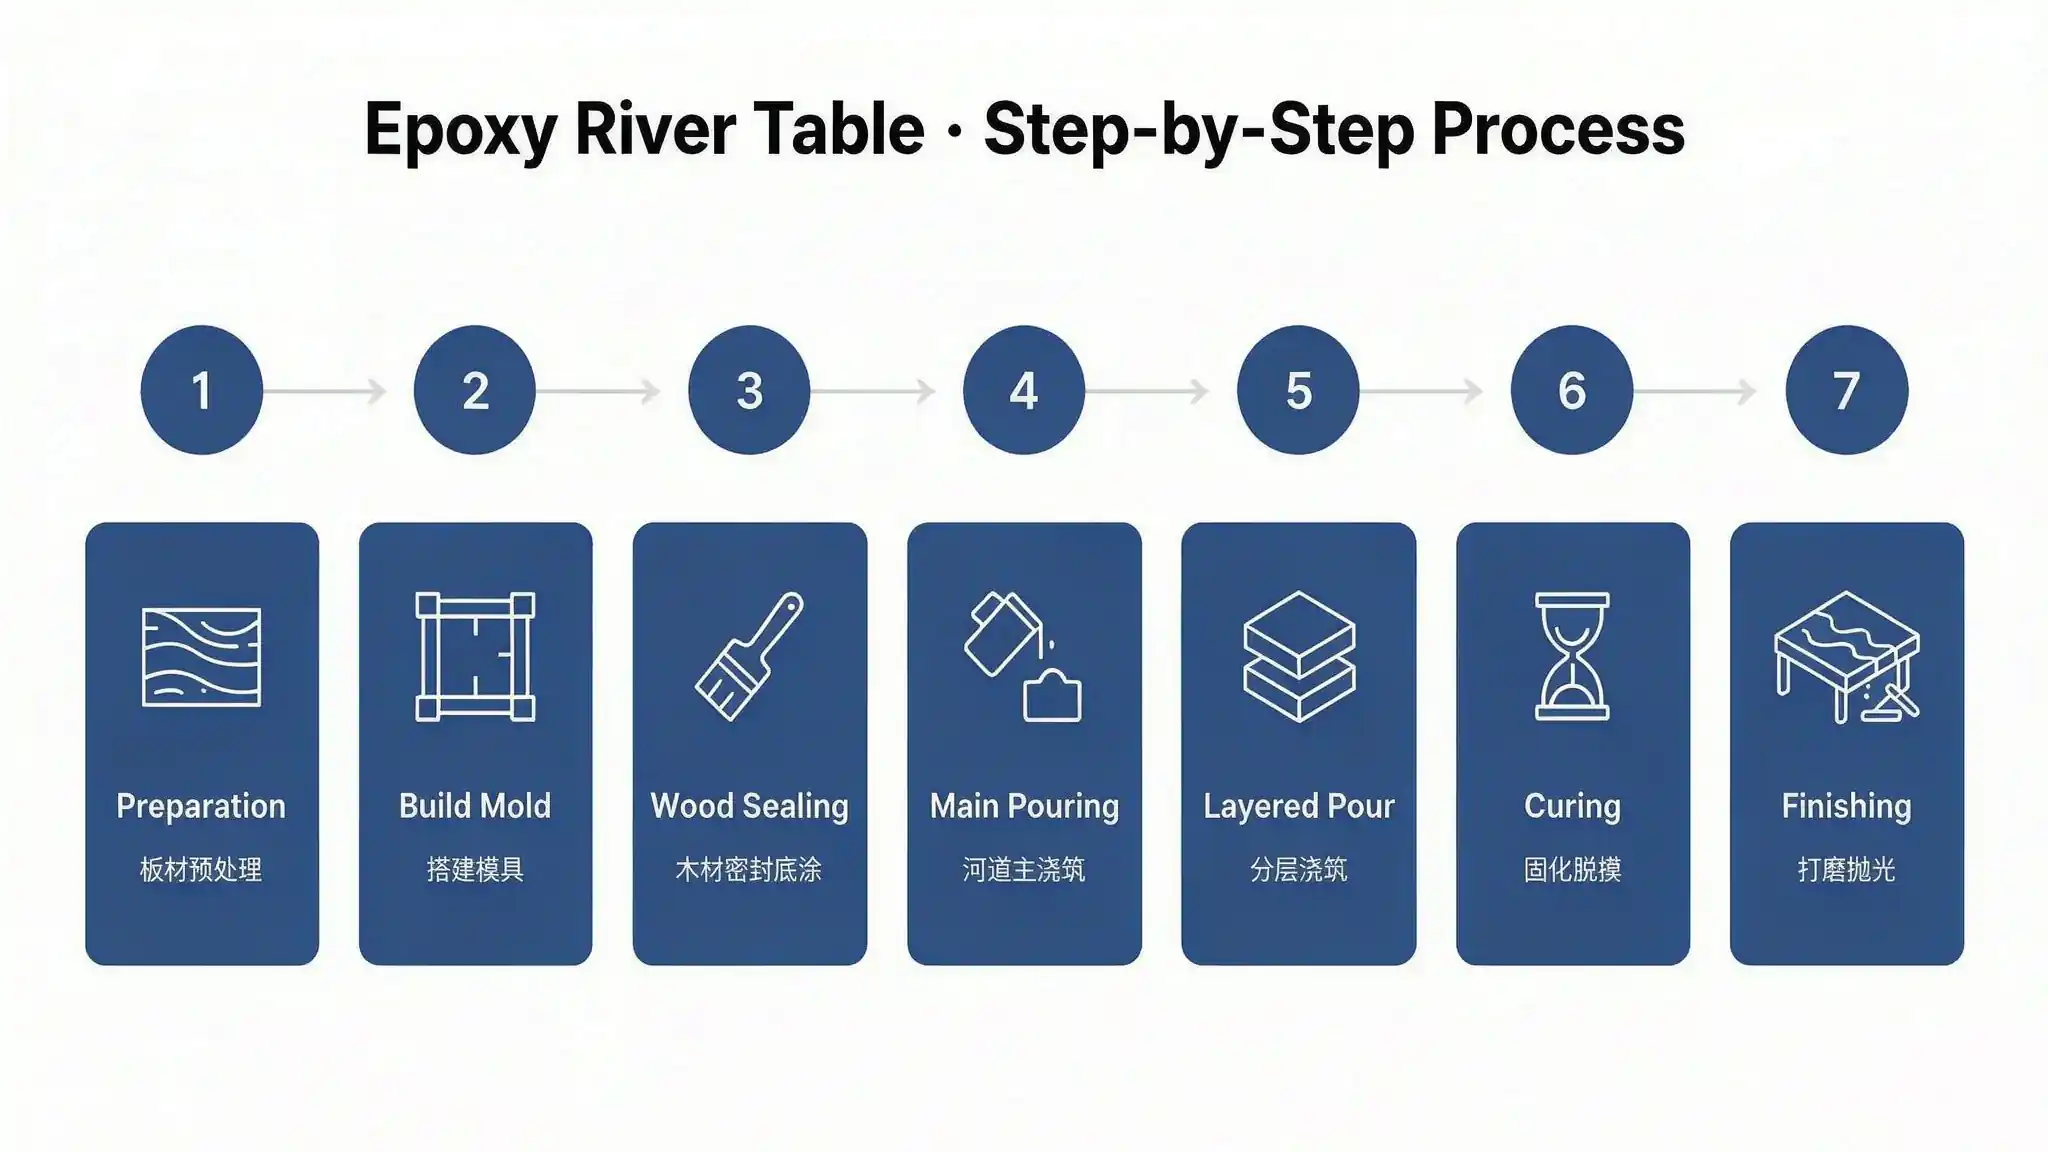
Follow these 7 critical engineering steps to ensure bubble-free casting and avoid thermal exotherm defects.
Select live-edge wood slabs, cut to size, and roughly sand surfaces. Repair open fissures and clean channel debris. Test timber moisture content; maintain strictly between 8% and 12% to prevent internal moisture whitening.
Assemble mold container with melamine boards. Seal all external corner joints with high-grade silicone to prevent resin blowout. Line internal surfaces with polypropylene release tape.
Brush a thin seal coat over all timber surfaces that will make contact with the casting epoxy. Allow the primer coat to cure fully before the main pour to prevent unsealed wood from outgassing bubbles.
Anchor timber slabs firmly with clamps or weights to counteract epoxy buoyancy. Measure Part A and Part B at 3:1 by weight using an electronic scale. Stir at low speed for 2-3 minutes, scraping container walls and bottom. Pour slowly into the gap.
Maintain single-pour thickness between 15-20 mm (max 22 mm) when pouring against solid wood. If ambient temperature exceeds 24°C, limit layer depth to 12-18 mm. Allow previous layer to reach gel state (24-48h interval) prior to pouring the next tier.
Cure mold in a dust-free environment at 20-24°C. Demold after 3-4 days. Wait 7 days before routing, planing, or wet sanding. Final Shore D hardness and stain resistance develop fully after 7-14 days.
Clean tools and mixing containers with isopropyl alcohol or denatured alcohol before resin crosslinks. Cured epoxy must be removed by mechanical sanding.
Input your project channel parameters and shop ambient temperature to calculate safe layer thickness and exotherm risk.
Extensively utilized for high-end studio furniture fabrication and commercial architectural installations.
A: A:B = 3:1 by weight only. Volume-based mixing will cause tacky surfaces, thermal yellowing, or incomplete curing due to component specific gravities. Always use an accurate electronic scale.
A: For river-table setups with solid wood edges, the safe single-pour thickness is 15-20 mm (max ≤ 22 mm). Reduce to 12-18 mm when shop temperatures exceed 24°C. Total depths exceeding this require multi-layer casting (wait 24-48 hours until previous layer reaches gel state).
A: Demold after 3-4 days. Do not plane, route, or sand immediately upon demolding. Final mechanical leveling, trimming, and polishing can proceed after 7 days; full chemical cure requires 7-14 days.
A: Whitening usually results from high timber moisture content (> 12%) or omission of the initial wood seal-primer coat. Cracking is predominantly caused by exceeding single-pour thickness limits, which triggers excessive thermal exotherm.
A: Yes. PureEpox is fully compatible with alcohol inks, liquid pigment pastes, and pearlescent mica powders. Total pigment addition should not exceed 10% of total resin mass to prevent curing interference.
Access third-party ASTM physical test reports, exothermic temperature curves, and industrial export packaging specs.